
A Comprehensive Guide to Flooring Installation
Welcome to our friendly guide on flooring installation! Whether you want to update your residential or commercial space, this blog post will provide you with all the essential information you need.
Flooring installation can be a significant investment, and it’s crucial to make informed decisions to achieve the desired results. This comprehensive guide will explore the basics of flooring installation, the importance of professional installation for commercial spaces, the benefits of upgrading your home’s flooring, and much more. So, let’s dive in and learn everything you need to know about flooring installation!
I. Flooring Installation Basics
A. Understanding the Different Types of Flooring Materials
Regarding flooring installation, there are various options available, each with its unique characteristics. Let’s explore some of the most popular flooring materials:
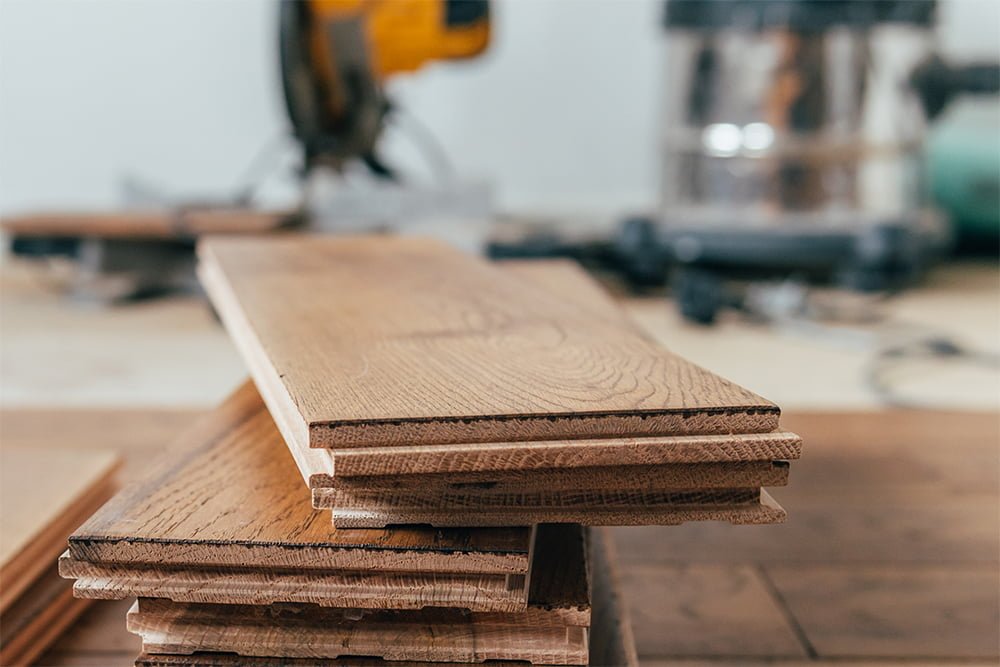
1. Hardwood: Hardwood flooring is known for its elegance and timeless appeal. It adds warmth and sophistication to any space. However, hardwood requires regular maintenance and may not be suitable for areas prone to moisture.
2. Laminate: Laminate flooring is a cost-effective alternative to hardwood. It mimics the look of wood or stone while offering increased durability and resistance to scratches and stains. Laminate is relatively easy to install, making it a popular choice for DIY enthusiasts.
3. Vinyl: Vinyl flooring is a versatile and budget-friendly option. It has various styles, including luxury vinyl planks (LVP) and tiles (LVT). Vinyl is highly durable, waterproof, and easy to maintain, making it an excellent choice for areas with high foot traffic or moisture.
4. Carpet: Carpet adds comfort and warmth to any space, making it popular for bedrooms and living areas. It comes in a wide range of colors, textures, and patterns. However, carpet requires regular cleaning and may need to be more suitable for high-traffic areas.
B. Choosing the Right Flooring for Your Space
Selecting the right flooring for your space is crucial to ensure it meets your needs and preferences. Consider the following factors when making your decision:
1. Durability: Assess the foot traffic your space receives and choose the flooring that can withstand it. For high-traffic areas, consider options like hardwood, laminate, or vinyl.
2. Style: Flooring plays a significant role in the overall aesthetics of your space. Consider the existing decor and choose a flooring material that complements it. Hardwood or laminate may be the right choice for a classic look, while vinyl offers a wide range of styles and patterns to suit any design.
3. Maintenance: Evaluate your willingness and ability to maintain the flooring. Some materials, like hardwood, require regular refinishing and maintenance, while others, like vinyl, are more low-maintenance.
II. Commercial Flooring Installation
A. Importance of Professional Installation for Commercial Spaces
When it comes to commercial flooring installation, hiring experienced professionals is crucial. Here are some reasons why professional installation is essential for commercial spaces:
1. Expertise: Professional flooring contractors have the knowledge and experience to handle complex commercial projects. They understand the specific requirements of commercial spaces and can recommend the most suitable flooring materials.
2. Efficiency: Professional installers have the tools and equipment to complete the installation efficiently. They can minimize disruptions to your business operations and ensure the project is completed within the agreed-upon timeframe.
3. Quality Assurance: Professional installation ensures the flooring is installed correctly, minimizing the risk of issues such as uneven surfaces or premature wear. This helps extend the lifespan of your flooring and saves you from potentially costly repairs in the future.
B. Steps Involved in Commercial Flooring Installation
Commercial flooring installation typically involves several steps to ensure a successful outcome. Here’s an overview of the process:
1. Site Preparation and Evaluation: The flooring contractor will assess the space, take measurements, and evaluate any specific requirements or challenges. This step helps determine the material needed and allows for proper planning.
2. Removal of Existing Flooring (if applicable): Existing flooring in the space will need to be removed before the new flooring can be installed. This step may involve the removal of carpet, tile, or other materials.
3. Subfloor Preparation and Leveling: The subfloor must be clean, dry, and level before installing the new flooring. If there are any imperfections or unevenness, the flooring contractor will take the necessary steps to prepare and level the subfloor.
4. Installation of New Flooring Material: The contractor will install the new flooring material once the subfloor is ready. This step may involve laying hardwood planks, laminate or vinyl tiles, or installing commercial-grade carpet.
5. Finishing Touches and Clean-Up: After installing the flooring, the contractor will perform any necessary finishing touches, such as trim installation or transition strips. They will also clean the work area, removing debris or waste materials.
III. Residential Flooring Installation
A. Benefits of Upgrading Your Home’s Flooring
Upgrading your home’s flooring offers several benefits, both aesthetically and practically:
1. Enhanced Aesthetics: New flooring can transform the look and feel of your home. A fresh floor can add beauty and style to any room, whether you choose hardwood, laminate, vinyl, or carpet.
2. Improved Comfort: Certain flooring materials, like carpet, provide a soft and cozy feeling underfoot. This can enhance the comfort of your living spaces, especially in areas where you spend a lot of time, like bedrooms or living rooms.
3. Increased Property Value: Upgrading your flooring is an investment that can increase the value of your home. Potential buyers are often drawn to homes with updated and well-maintained flooring.
B. DIY vs Professional Installation for Residential Spaces
Whether to tackle a flooring installation project yourself or hire professionals depends on various factors. Consider the following pros and cons:
1. DIY Installation:
Pros:
– Cost Savings: DIY installation can save you money on labor costs.
– Sense of Accomplishment: Completing a DIY project can be rewarding and give you a sense of accomplishment.
Cons:
– Time and Effort: Installing flooring can be time-consuming and physically demanding, especially for larger areas.
– Skill and Experience: Proper installation requires skill and experience. You may have subpar results or damage the flooring material without the necessary knowledge.
2. Professional Installation:
Pros:
– Expertise and Experience: Professional installers have the knowledge and experience to ensure a high-quality installation.
– Time Savings: Hiring professionals allows you to focus on other tasks while they handle the installation efficiently.
Cons:
– Cost: Professional installation comes with additional costs, including labor fees. However, the investment may be worthwhile to ensure a flawless result.
C. Step-by-Step Guide to Residential Flooring Installation (for DIY enthusiasts)
For those who choose to embark on a DIY flooring installation project, here’s a step-by-step guide to help you along the way:
1. Measuring the Area Accurately: Measure the dimensions of the room or rooms where you plan to install the flooring. This will help you determine the amount of material you need to purchase.
2. Material Selection and Purchasing Tips: Research different flooring options and choose the material that best suits your needs and preferences. Purchase the necessary tools and materials, ensuring you have enough to complete the installation.
3. Preparing the Subfloor: Ensure that the subfloor is clean, dry, and level. Remove any existing flooring and address any imperfections or unevenness before proceeding.
4. Installing the New Flooring:
a) For Hardwood/Laminate/Vinyl: Follow the manufacturer’s instructions for laying the planks or tiles. Start from one corner of the room and work across, ensuring a tight fit between pieces. Use spacers to maintain proper expansion gaps.
b) For Carpets: If installing carpet, you will need to stretch and secure it properly. Begin by installing tack strips around the perimeter of the room. Then, stretch the carpet pad over it using a knee kicker or power stretcher to ensure a tight fit. Secure the carpet to the tack strips and trim any excess.
Throughout each step, consider the following tips:
– Take breaks and work at your own pace to maintain accuracy and avoid fatigue.
– Use safety equipment, such as knee pads and goggles, to protect yourself during installation.
– Follow the manufacturer’s instructions carefully to ensure proper installation and avoid voiding warranties.
IV. The Cost of Flooring Installation
A. Factors Affecting Flooring Installation Costs
Several factors come into play when determining the cost of flooring installation. These include:
1. Material Type: The cost of the flooring material itself varies significantly. Hardwood tends to be more expensive than laminate or vinyl. Carpet prices can vary depending on the quality and type.
2. Square Footage: The size of the area to be covered influences the overall cost. Larger spaces require more materials and labor.
3. Additional Services Required: Additional costs may be incurred if there are specific requirements for the installation, such as subfloor preparation or removal of existing flooring.
B. Average Cost Ranges for Different Flooring Materials
To give you a better idea of the average cost ranges for different flooring materials, here are some examples:
1. Hardwood: On average, hardwood flooring installation can cost anywhere from $6 to $12 per square foot. However, this cost can vary depending on the type of wood, the complexity of the installation, and the additional services required.
2. Laminate: Laminate flooring installation typically ranges from $3 to $8 per square foot. The cost depends on factors such as the laminate’s quality, the area’s size, and any additional services needed.
3. Vinyl: Vinyl flooring installation costs approximately $2 to $7 per square foot. The price varies depending on the vinyl’s quality, the installation’s complexity, and any additional services required.
4. Carpet: The cost of carpet installation can range from $2 to $5 per square foot. However, this cost can vary significantly depending on factors such as the type of carpet, additional services required, and any customization options.
C. Importance of Obtaining Multiple Quotes
Regarding flooring installation, obtaining multiple quotes from different contractors is crucial. This allows you to compare prices, services, and expertise to ensure you make an informed decision. Additionally, obtaining multiple quotes helps you identify discrepancies or hidden costs, ensuring transparency. Feel free to ask questions and clarify doubts before deciding.
V. Flooring Contractors in London, Ontario
A. Introduction to Local Flooring Contractors
If you’re in London, Ontario, and looking for reputable flooring contractors, you’re in luck! Several professional flooring companies can assist you with your installation needs. These contractors offer various services, including residential and commercial flooring installation, repairs, and refinishing. They have the expertise to handle various flooring materials and can help you choose the right options for your space.
B. Tips for Choosing the Right Flooring Contractor
Choosing the right flooring contractor is crucial to ensure a successful installation. Here are some factors to consider when selecting a contractor:
1. Experience: Look for contractors with a proven track record in the industry. Experience indicates their ability to handle different projects and deliver high-quality results.
2. Certifications and Licenses: Check if the contractor has the necessary certifications and licenses to operate in London, Ontario. This ensures that they meet the required industry standards and regulations.
3. Customer Reviews and References: Read customer reviews and testimonials to gauge the contractor’s reputation. Additionally, ask for references and contact previous clients to inquire about their experiences with the contractor.
4. Range of Services: Consider the contractor’s range of services. Do they specialize in the type of flooring material you’re interested in? Do they provide additional services such as subfloor preparation or removal of existing flooring?
5. Cost and Estimates: Obtain detailed estimates from different contractors and compare them. Remember that the lowest price may not always indicate the best value. Consider the contractor’s expertise, reputation, and the overall package they offer.
Author: incekalem digital media
Updated: 10.12.2023